Mastering C# System File
C# provides robust capabilities for interacting with the file system, enabling tasks such as file manipulation, directory management, and information retrieval. In his video, "Working With The File System in C# - Managing Folders and Files," Tim Corey explores the fundamentals of working with files and directories using C#.
This article aims to provide a comprehensive overview of file system operations in C#, highlighting essential techniques for automating tasks, managing directories, and handling files.
Introduction
In C#, the System.IO namespace provides powerful classes for interacting with the file system. These classes, such as File, FileInfo, Directory, and DirectoryInfo, enable you to perform a variety of file operations, like creating files, reading data, writing to files, and checking if a specified file already exists in a specified path. Using these classes, you can work with text files, binary files, and files of various extensions. Methods like Create(), Exists(), and Delete() allow developers to manage files and directories effectively.
For example, the File class includes static methods to check if a file already exists, create a new file, or open files in different modes (such as read, write, or append). You can also use the FileInfo class to get more details about a file, such as its creation time or full path. The DirectoryInfo class allows you to work with directories, get files, or create new directories. These classes and methods provide the flexibility to handle both existing files and new files, manage multiple files, and even handle file data at the byte level, making C# a powerful tool for file system operations.
Tim begins by highlighting the powerful features of C# for automating file tasks, such as creating backups, organizing files, and retrieving file information. He introduces the video by stating his goal to make learning C# easier through practical examples and training resources.
Creating a Demo Console Application
Tim starts from scratch, creating a new console application named "FileSystemDemo" using the .NET Framework. He emphasizes the choice of the .NET Framework over .NET Core for this demonstration.
using System;
using System.IO;

namespace FileSystemDemo
{
    class Program
    {
        static void Main(string[] args)
        {
            Console.ReadLine();
        }
    }
}
using System;
using System.IO;
namespace FileSystemDemo
{
class Program
{
static void Main(string[] args)
{
Console.ReadLine();
}
}
}Setting Up the Root Path
Tim sets up a root path variable pointing to a specific directory on his system for the demo.
string rootPath = @"C:\temp\demos\filesystem";string rootPath = @"C:\temp\demos\filesystem";He explains that the @ symbol allows for the use of backslashes in the path without needing to escape them.
Reading All Directories in the Path
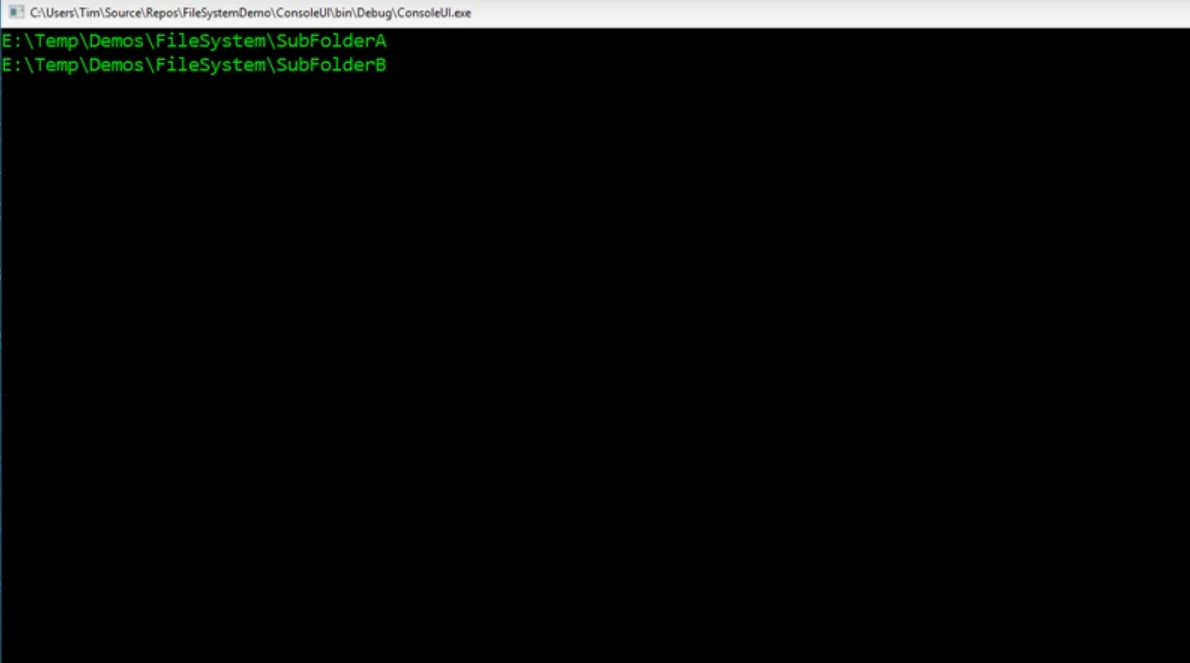
Tim demonstrates how to retrieve all directories within the specified root path using the Directory.GetDirectories method.
string[] directories = Directory.GetDirectories(rootPath);
foreach (string directory in directories)
{
    Console.WriteLine(directory);
}
string[] directories = Directory.GetDirectories(rootPath);
foreach (string directory in directories)
{
Console.WriteLine(directory);
}This code prints the full paths of all subdirectories within the root directory.

Recursively Reading Subdirectories
To include subdirectories in the search, Tim adds a search pattern and search options to the GetDirectories method.
string[] allDirectories = Directory.GetDirectories(rootPath, "*", SearchOption.AllDirectories);
foreach (string directory in allDirectories)
{
    Console.WriteLine(directory);
}
string[] allDirectories = Directory.GetDirectories(rootPath, "*", SearchOption.AllDirectories);
foreach (string directory in allDirectories)
{
Console.WriteLine(directory);
}This modification ensures that all nested subdirectories are included in the search.
Reading All Files in the Path
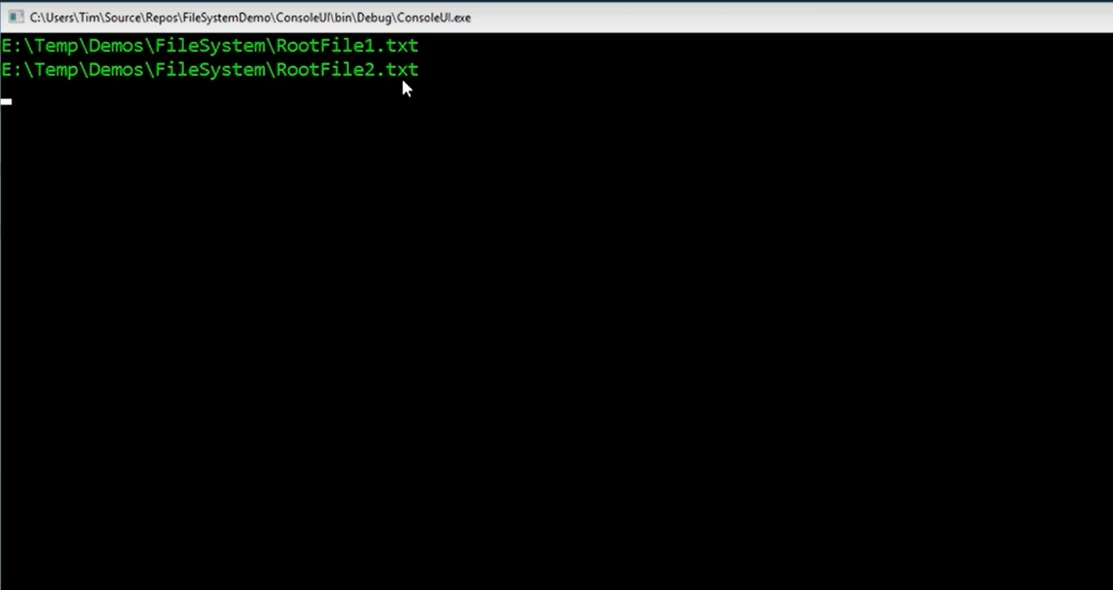
Tim shows how to retrieve all files within the directory class and specified root path using the Directory.GetFiles method.
string[] files = Directory.GetFiles(rootPath, "*.*", SearchOption.AllDirectories);
foreach (string file in files)
{
    Console.WriteLine(file);
}
string[] files = Directory.GetFiles(rootPath, "*.*", SearchOption.AllDirectories);
foreach (string file in files)
{
Console.WriteLine(file);
}This code prints the full paths of all files within the root directory and its subdirectories.

Extracting File Names and Paths
Tim explains how to extract file names and paths using the Path class. This includes getting the file name without the file extension and the directory name of each file.
foreach (string file in files)
{
    Console.WriteLine(Path.GetFileName(file)); // File name with extension
    Console.WriteLine(Path.GetFileNameWithoutExtension(file)); // File name without extension
    Console.WriteLine(Path.GetDirectoryName(file)); // Directory name
}
foreach (string file in files)
{
Console.WriteLine(Path.GetFileName(file)); // File name with extension
Console.WriteLine(Path.GetFileNameWithoutExtension(file)); // File name without extension
Console.WriteLine(Path.GetDirectoryName(file)); // Directory name
}This code snippet demonstrates how to extract and print different parts of the same file in the specified path.
Retrieving File Information
Tim at (12:10) demonstrates how to retrieve detailed information about a file using the FileInfo class. This includes getting the file size, last accessed time, creation time, and other attributes.
foreach (string file in files)
{
    FileInfo info = new FileInfo(file);
    Console.WriteLine($"{Path.GetFileName(file)}: {info.Length} bytes");
}
foreach (string file in files)
{
FileInfo info = new FileInfo(file);
Console.WriteLine($"{Path.GetFileName(file)}: {info.Length} bytes");
}This code snippet prints the file name and its size in bytes. Tim mentions that you can convert this size to kilobytes or megabytes by dividing by 1024 repeatedly.
He further explains that the FileInfo class provides other useful properties:
LastWriteTime: The last time the file was modified.LastAccessTime: The last time the file was accessed.CreationTime: The creation time of the file.Attributes: The file attributes, such as read-only or archive.
Automating File System Tasks with C#
Tim at (15:11) discusses how to use C# for automating various file system tasks. This can include creating directories, verifying the existence of files or directories, and other repetitive tasks.
Verifying if a Directory Exists
Tim shows how to check if a directory exists using the Directory.Exists method. This is useful for ensuring that necessary directories are in place before performing operations.
string newPath = @"C:\temp\demos\filesystem\subfolderC";
if (Directory.Exists(newPath))
{
    Console.WriteLine("Directory exists");
}
else
{
    Console.WriteLine("Directory does not exist");
}
string newPath = @"C:\temp\demos\filesystem\subfolderC";
if (Directory.Exists(newPath))
{
Console.WriteLine("Directory exists");
}
else
{
Console.WriteLine("Directory does not exist");
}This code checks for the existence of a directory and prints an appropriate message.
Creating a New Directory
Tim explains how to create a new directory using the Directory.CreateDirectory method. This method creates all directories and subdirectories in the specified path if they do not already exist.
string newPath = @"C:\temp\demos\filesystem\subfolderC\sub-subfolderD";
Directory.CreateDirectory(newPath);
Console.WriteLine("Directories created");
string newPath = @"C:\temp\demos\filesystem\subfolderC\sub-subfolderD";
Directory.CreateDirectory(newPath);
Console.WriteLine("Directories created");Tim demonstrates that this method creates the specified path and its subdirectories without overwriting any existing files or directories.
Copying Files
Tim at (21:35) demonstrates how to copy files from one directory to another using the File.Copy method. This can be useful for backing up files or organizing files into different folders.
string[] files = Directory.GetFiles(rootPath);
string destinationFolder = Path.Combine(rootPath, "subfolderA");

foreach (string file in files)
{
    string destFile = Path.Combine(destinationFolder, Path.GetFileName(file));
    File.Copy(file, destFile, true);
}
string[] files = Directory.GetFiles(rootPath);
string destinationFolder = Path.Combine(rootPath, "subfolderA");
foreach (string file in files)
{
string destFile = Path.Combine(destinationFolder, Path.GetFileName(file));
File.Copy(file, destFile, true);
}In this example, files are copied from the root directory to subfolderA, and existing files are overwritten due to the true parameter.
Renaming Files During Copy
Tim also shows how to rename files during the copy process by using a for loop with an index.
for (int i = 0; i < files.Length; i++)
{
    string destFile = Path.Combine(destinationFolder, $"{i}.txt");
    File.Copy(files[i], destFile, true);
}
for (int i = 0; i < files.Length; i++)
{
string destFile = Path.Combine(destinationFolder, $"{i}.txt");
File.Copy(files[i], destFile, true);
}This code copies files to the destination directory and renames them sequentially as 0.txt, 1.txt, etc.
Handling File Overwrites
Tim explains how to handle existing files without overwrites and avoid exceptions by setting the overwrite parameter to false. This prevents existing files from being overwritten and throws an exception if a file already exists.
try
{
    File.Copy(sourceFile, destFile, false);
}
catch (IOException ex)
{
    Console.WriteLine($"File already exists: {ex.Message}");
}
try
{
File.Copy(sourceFile, destFile, false);
}
catch (IOException ex)
{
Console.WriteLine($"File already exists: {ex.Message}");
}This approach helps in safely managing file copies and handling situations where files should not be overwritten.
Moving Files
Tim at (28:28) demonstrates how to move files using the File.Move method. Unlike File.Copy, the File.Move method does not have an overwrite option and will throw an exception if the destination file already exists.
string[] files = Directory.GetFiles(rootPath);
string destinationFolder = Path.Combine(rootPath, "subfolderA");

foreach (string file in files)
{
    string destFile = Path.Combine(destinationFolder, Path.GetFileName(file));
    File.Move(file, destFile);
}
string[] files = Directory.GetFiles(rootPath);
string destinationFolder = Path.Combine(rootPath, "subfolderA");
foreach (string file in files)
{
string destFile = Path.Combine(destinationFolder, Path.GetFileName(file));
File.Move(file, destFile);
}This code moves files from the root directory to subfolderA and removes them from the source directory.
Creating Utility Apps
Tim encourages developers to think of various ways they can use C# to automate file system tasks and create utility applications. He suggests starting with simple tasks and gradually building more complex automation solutions.
Examples of utility apps:
Cleaning Up Temp Files: Automate the process of deleting temporary files to free up space.
Backups to External Drives: Create a backup tool that copies important files to an external drive.
- Project Folder Synchronization: Sync project folders between a computer and a thumb drive, ensuring the latest changes are always backed up and restored.
Conclusion
Tim Corey’s exploration of file system operations in C# provides practical insights into automating file tasks and managing directories. By following his examples, developers can efficiently automate routine file management tasks and create custom utility applications.
To gain a deeper understanding and see these concepts in action, I highly encourage you to watch Tim Corey's full video on the File System in C#. His detailed walkthroughs and practical examples will help you solidify your understanding and empower you to build your own file management applications.


