Sample Data and Filtering - Building a Sample API in C#
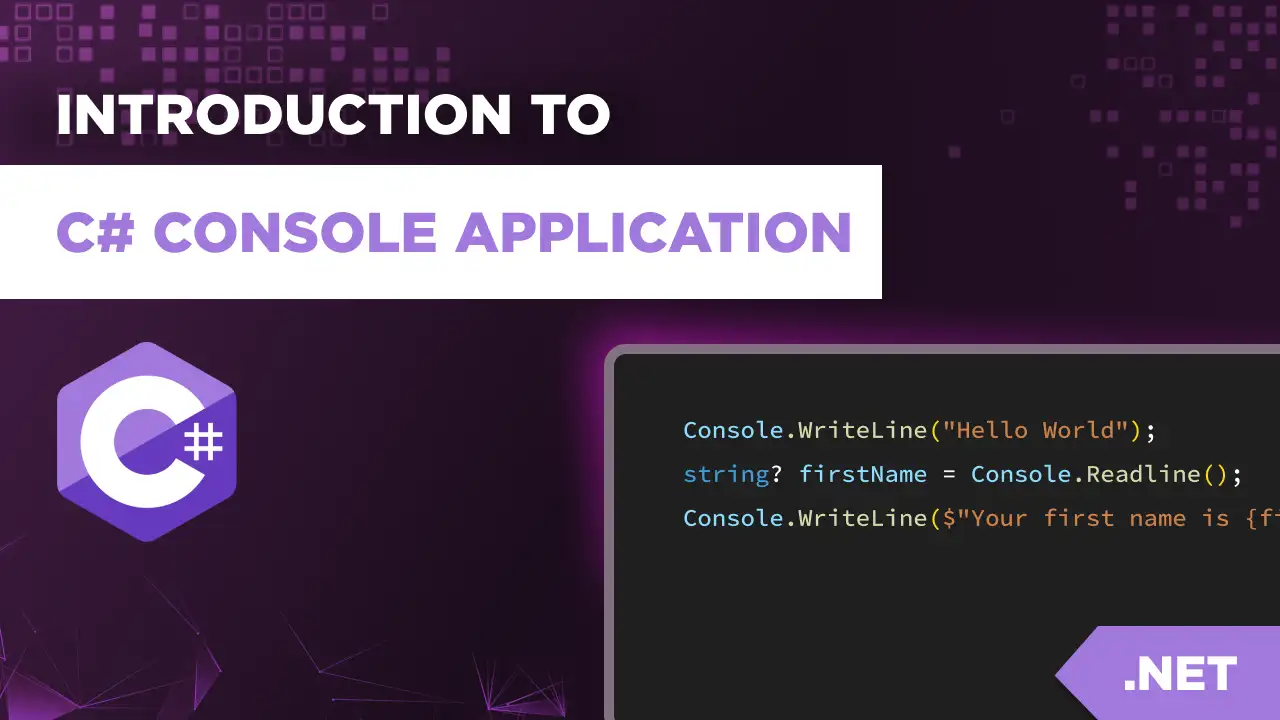
When working with web development today, one important tool is a sample Web API — something that you can use to test frontend web apps, mobile devices, or even software applications. In his detailed video on "Sample Data and Filtering - Building a Sample API in C#", Tim Corey walks us through creating a C# Web API that loads sample data from a JSON file, sets up filtering, and is prepared for deployment as a Docker container or a traditional web application.
In this article, we’ll explore Tim’s approach step-by-step, and explaining the core concepts from ASP.NET Core Web API, Minimal APIs, and HTTP services.
Introduction to the Sample Web API
Tim opens by explaining why creating a new Web API project is so important for developers. Whether you’re building for mobile devices, a web app, or other software applications, having a lightweight sample API makes testing faster and smoother.
Tim states that by the end of the project, we will have:
A minimal API using ASP.NET Core and .NET Core,
A documented API with OpenAPI (Swagger UI) support,
Health checks,
Simulated errors and slowdowns,
- Deployment in a Docker container and to a VPS server.
This small project will enable developers to interact with HTTP services easily, through HTTP methods like GET, PUT, POST, and DELETE.
Setting Up the Project and Sample Data
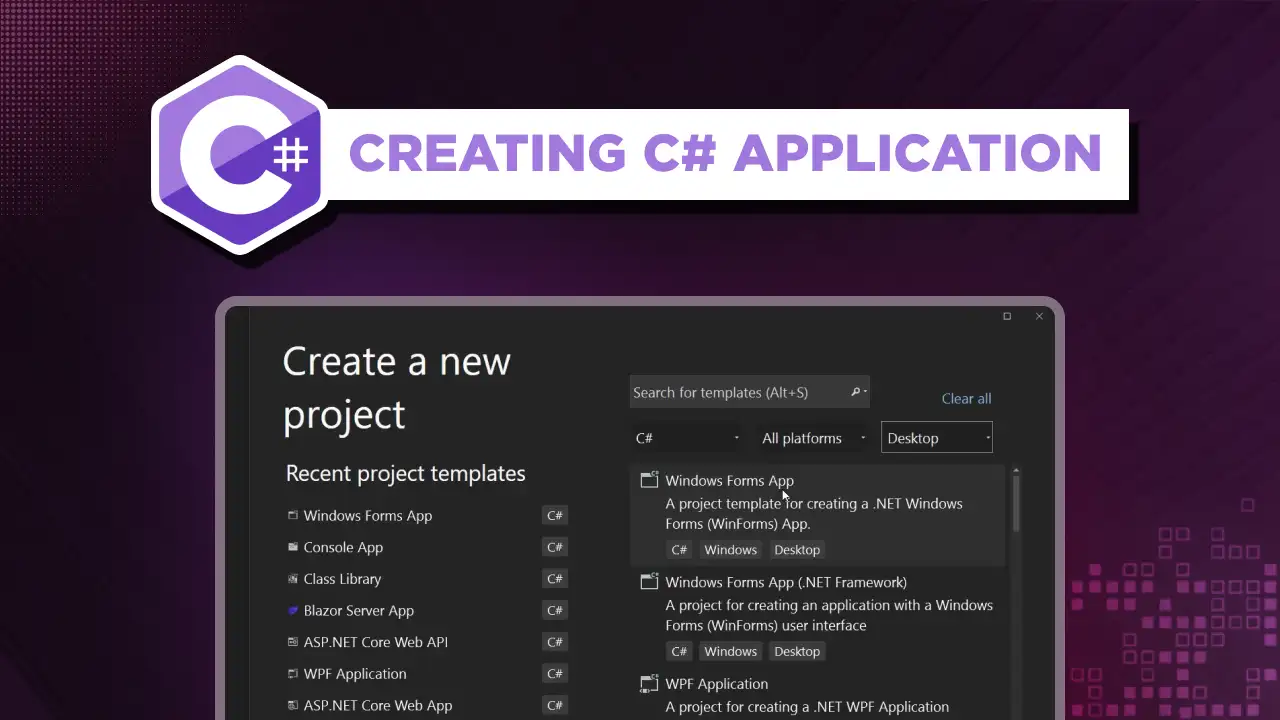
Tim begins by structuring the Web API project inside Visual Studio, the popular integrated development environment by Microsoft.
At 1:07, Tim creates a new Data folder and adds a courseData.json file. He mentions that his live site, timcorey.com, uses a similar system — just a big JSON file behind the scenes, acting as a web service.
Key points from Tim’s setup:
Use JSON files for sample data to avoid requiring a database or Entity Framework.
Keep containers small by avoiding additional services like SQL servers.
- Data is not mutable — no need to store changes; just reset data when needed.
This choice mirrors the REST (Representational State Transfer) principles of working with existing resources.
Understanding the Course Data Structure
Tim carefully walks through the structure of the sample JSON file:
ID (integer),
PreOrder (boolean),
Course URL (string),
Course Type (string),
Name, Lessons Count, Course Length in Hours (numbers),
Description, Image URL,
Price in USD,
- Preview Link.
Tim explains at 3:29 that all pricing is based on US dollars; however, local taxes (VAT) might alter the final price.
Each of these fields later maps to a model class in C# — a foundational element in building ASP.NET Web APIs.
Creating the Course Model Class
Moving into .NET Core coding, Tim creates a CourseModel.cs file inside a new Models folder.
At 4:47, he uses Visual Studio's “Paste Special > Paste JSON as Classes” to instantly scaffold a class based on the JSON structure. Tim points out:
Proper PascalCase naming (important for C# web APIs),
Required vs nullable strings (6:02),
- Avoiding storing null where an empty string would suffice.
Creating a strong model class is crucial for enabling data communication between clients and the server.
Loading Data into Memory
Tim continues by creating a CourseData.cs class to manage the loading of the course list into memory.
Key steps:
Use System.Text.Json for deserialization,
Set PropertyNameCaseInsensitive = true (8:04) to map camelCase JSON to PascalCase C# fields,
Use Path.Combine (9:04) for cross-platform file access,
- Ensure case sensitivity when dealing with Linux servers (9:59).
The courses are loaded into a public List
Tim at 11:04 stresses that if deserialization fails, a new empty list is created to prevent null reference errors — a best practice when building robust APIs.
Registering the Course Data in Dependency Injection
Next, Tim shows how to register the CourseData class using AddTransient in the services container.
He explains that even though the data is read-only, using a transient service avoids accidental modification issues. This approach aligns with modern ASP.NET Core Web API development standards.
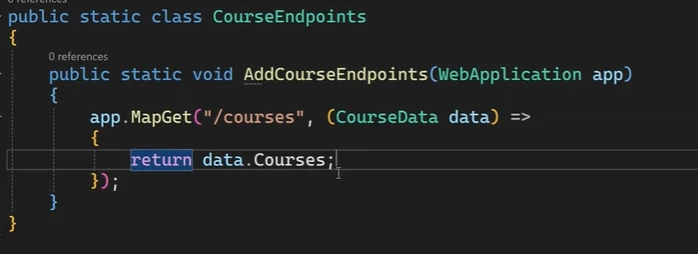
Creating Course Endpoints
At 14:03, Tim begins building endpoints for the sample API:
A GET method at /courses to retrieve all courses,
- An extension method AddCourseEndpoints for cleaner code.
This modular approach simplifies scaling your Web API project — an essential technique when managing large HTTP services or multiple endpoints.
Tim also sets the launch URL to Swagger UI, making testing easy.
Troubleshooting: Data Type Mismatches
When testing the new endpoint, Tim encounters a status code error related to the CourseLengthInHours field. He realizes that some courses have fractional hours (like 2.5), requiring a double instead of int.
Tim corrects the CourseModel, demonstrating the value of thorough error checking and respecting data types when consuming external web resources.
Improving the API with ID Lookup
Tim extends the functionality:
LoadAllCourses to retrieve all courses,
- LoadCourseById to find a course by ID.
He improves error handling by checking if a course exists. If it doesn’t, Tim uses return NotFound() — returning an appropriate HTTP status code to the client.
This matches RESTful architectural style practices, where each HTTP method clearly communicates the operation result.
Adding Filtering by Course Type and Search
A simple GET method isn't enough — real web services need filtering capabilities.
Tim enhances LoadAllCourses to accept query parameters:
courseType (string),
- search (string).
He explains how to safely handle optional parameters using String.IsNullOrWhiteSpace.
Filtering by courseType uses RemoveAll with String.Compare, ignoring case differences. Searching the course name and short description uses .Contains with a case-insensitive comparison.
Tim tests scenarios like:
Filtering for "Master Course"
Searching for "web" or "SQL"
- Combining search and course type for refined results
This provides a fully interactive experience for users across web apps, mobile apps, or clients communicating over HTTP. For more detailed information please refer to full video.
Final Thoughts and Next Steps
By the end of the lesson, Tim has created:
A working ASP.NET Core Web API,
Filtering and search capabilities,
Proper error handling (NotFound, Ok, etc.),
- Support for Swagger UI and OpenAPI documentation.
Tim previews that next, he'll handle Cross-Origin Resource Sharing (CORS) — critical for allowing internet clients and different domains to access the API freely.
Tim closes with encouragement: programming sometimes involves hurdles, but it’s rewarding.
Conclusion
Following Tim Corey’s video, you can create a new Web API project in Visual Studio, load sample data, build endpoints, and implement powerful filtering — all based on RESTful principles and ASP.NET Core standards.
Whether you’re testing web pages, building APIs for mobile devices, or working with existing resources, this setup ensures fast, reliable access to data via HTTP methods.
Keep practicing these patterns in .NET Core, and soon you'll be creating robust web services that communicate smoothly between clients, servers, and the internet!